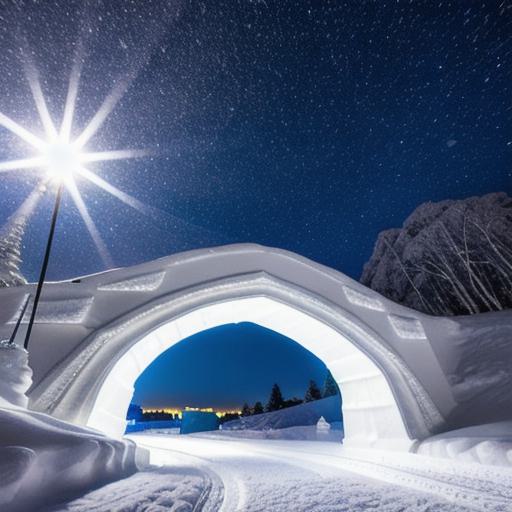
If you’re an avid player of Genshin Impact, you’ve probably heard about the new icy addition to the game world: Kaeya Ice Bridge. This majestic bridge is not only a beautiful sight to behold but also a valuable asset for players who want to traverse Inazuma with ease and style. In this guide, we will take you through everything you need to know about building your very own Kaeya Ice Bridge.
Before we dive in, let’s first understand what the Kaeya Ice Bridge is all about. The bridge was designed by the Abyssal Guards as a means of transporting people across Inazuma during the winter season. It’s made of ice crystals that are strong enough to withstand harsh weather conditions and can be manipulated to create intricate designs.
Now, let’s take a look at some of the key steps involved in building your own Kaeya Ice Bridge:
- Choose Your Location
The first step is to select a suitable location for your bridge. You will need to consider factors such as the terrain, the presence of obstacles, and the ease of access. Ideally, you want to choose a spot that is easily accessible by foot or boat. - Collect Ice Crystals
Once you have selected your location, it’s time to collect ice crystals. You can find these crystals scattered throughout Inazuma during the winter season. The more crystals you collect, the stronger and longer your bridge will be. - Design Your Bridge
With your crystals in hand, it’s time to get creative! There are countless designs you can create with ice crystals, from simple walkways to complex labyrinths. You can even incorporate elements such as waterfalls or fountains into your design. Just make sure to plan ahead and take into account the length and width of your bridge. - Place Your Crystals
Once you have designed your bridge, it’s time to start placing your crystals. Begin by laying down a foundation layer of ice crystals to create a solid base for your bridge. Then, add additional layers on top, building up the walls and floors of your bridge. Be sure to leave enough space between each crystal to allow for movement and stability. - Finishing Touches
With your bridge complete, it’s time to add some finishing touches. You can decorate your bridge with ice sculptures or intricate designs, or even add some lighting to create a magical atmosphere. Just make sure to use materials that are compatible with the cold Inazuma climate.
Now that you know all the basics of building a Kaeya Ice Bridge, it’s time to put your skills to the test! Whether you’re an experienced builder or just starting out, there’s no better way to learn than by doing. So go ahead, grab your ice crystals and get started on creating your own magical bridge in Inazuma!
FAQs:
Q: How long does it take to build a Kaeya Ice Bridge?
A: The time it takes to build a Kaeya Ice Bridge depends on the complexity of your design and the number of crystals you have available. It can take anywhere from a few hours to several days to complete.

Q: Can I use other materials to build my Kaeya Ice Bridge?
A: While ice crystals are the best material for building an Inazuma bridge, you can also use other materials such as snow or frozen water. However, these materials may not be as durable as ice crystals and may require additional reinforcement.